Set-up steps How to install the eSIM*
 How to set up your mobile phoneRemember to configure one last thing. Ideally, you should do this after you have already left your country, but before arriving at your destination (for example, on the plane)
 Automatic connection at your destination
How do I find out my iPhone version?
Go to Settings > General > Information
The automatic installation option is onlyvalid for versions later than 17.4. You must register or login to access this option.
Start session
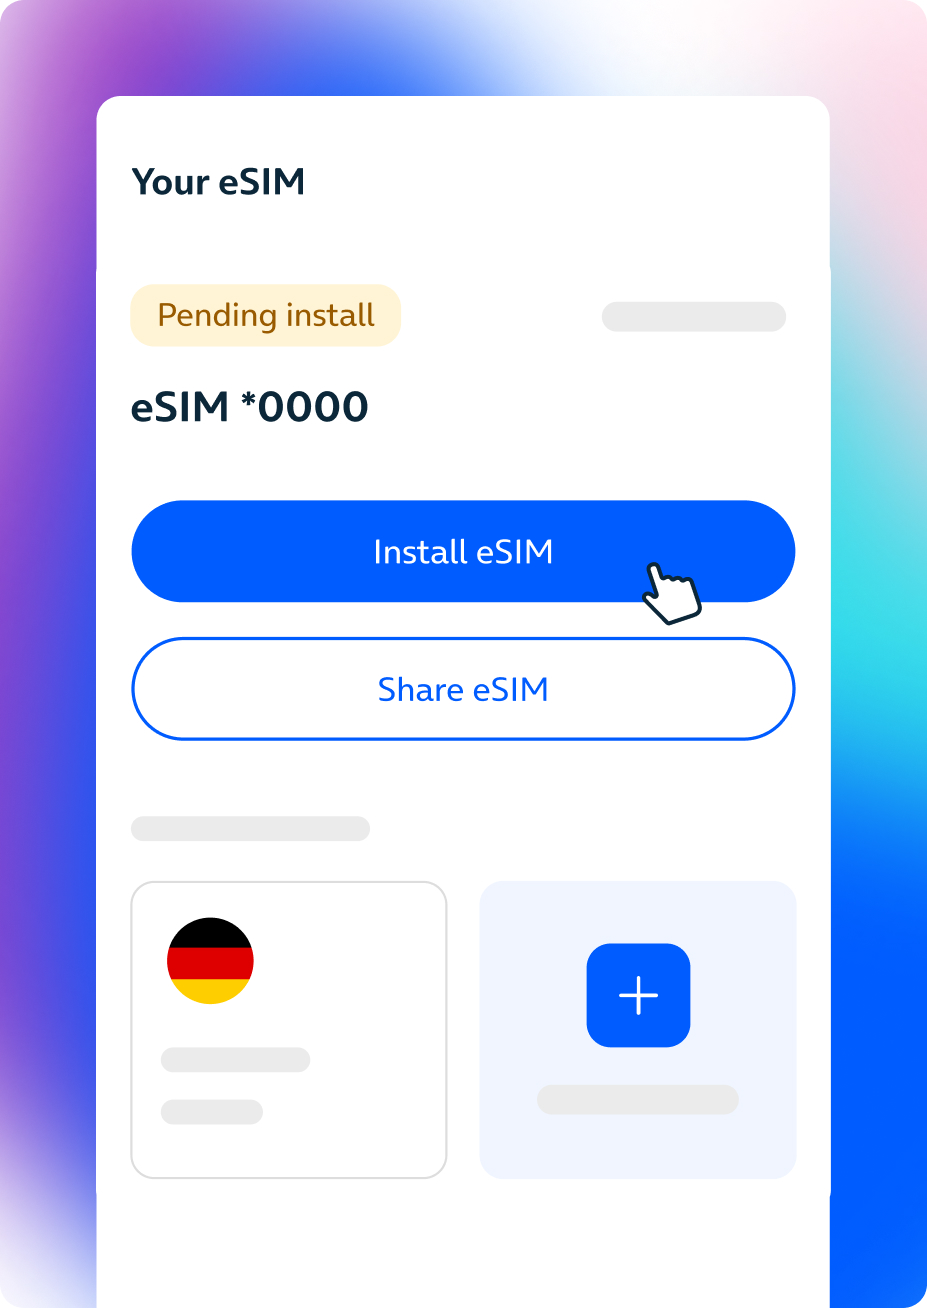
Click on Log in and enter your details
Go to Your eSIMs and click 'Install eSIM'
Click the Install eSIM button in the Your eSIMs section of the customer area
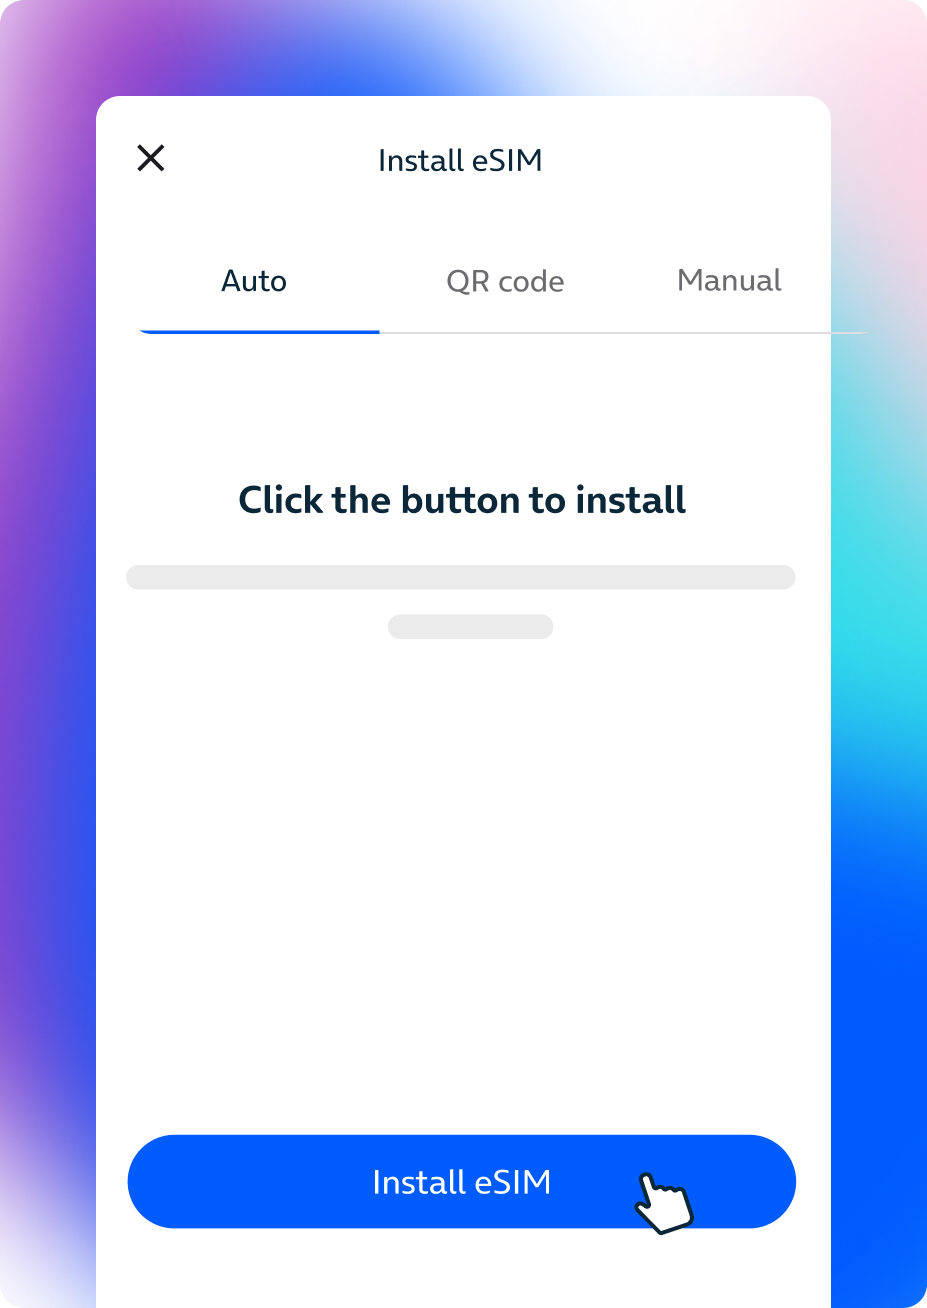
Click on 'Install eSIM'
In the Automatic Installation tab, click the button
Click 'Continue'. Unlimited data will be activated once you reach your destination
Continue with the eSIM installation. The data plan will activate once you arrive at your destination
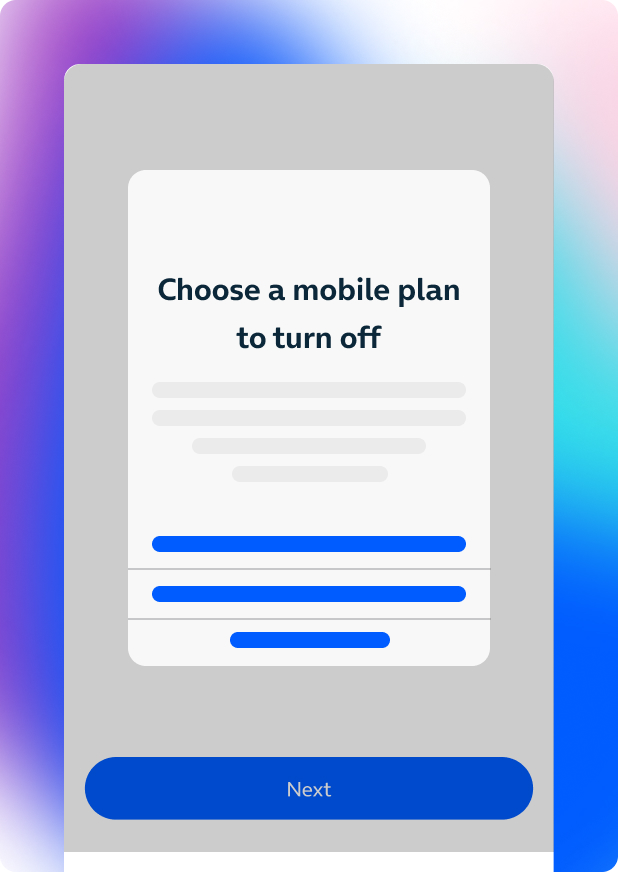
Select a maximum of 2 active lines per device
You can have a maximum of 2 active lines per device. If you have more, you will have to choose which ones you want to be active.
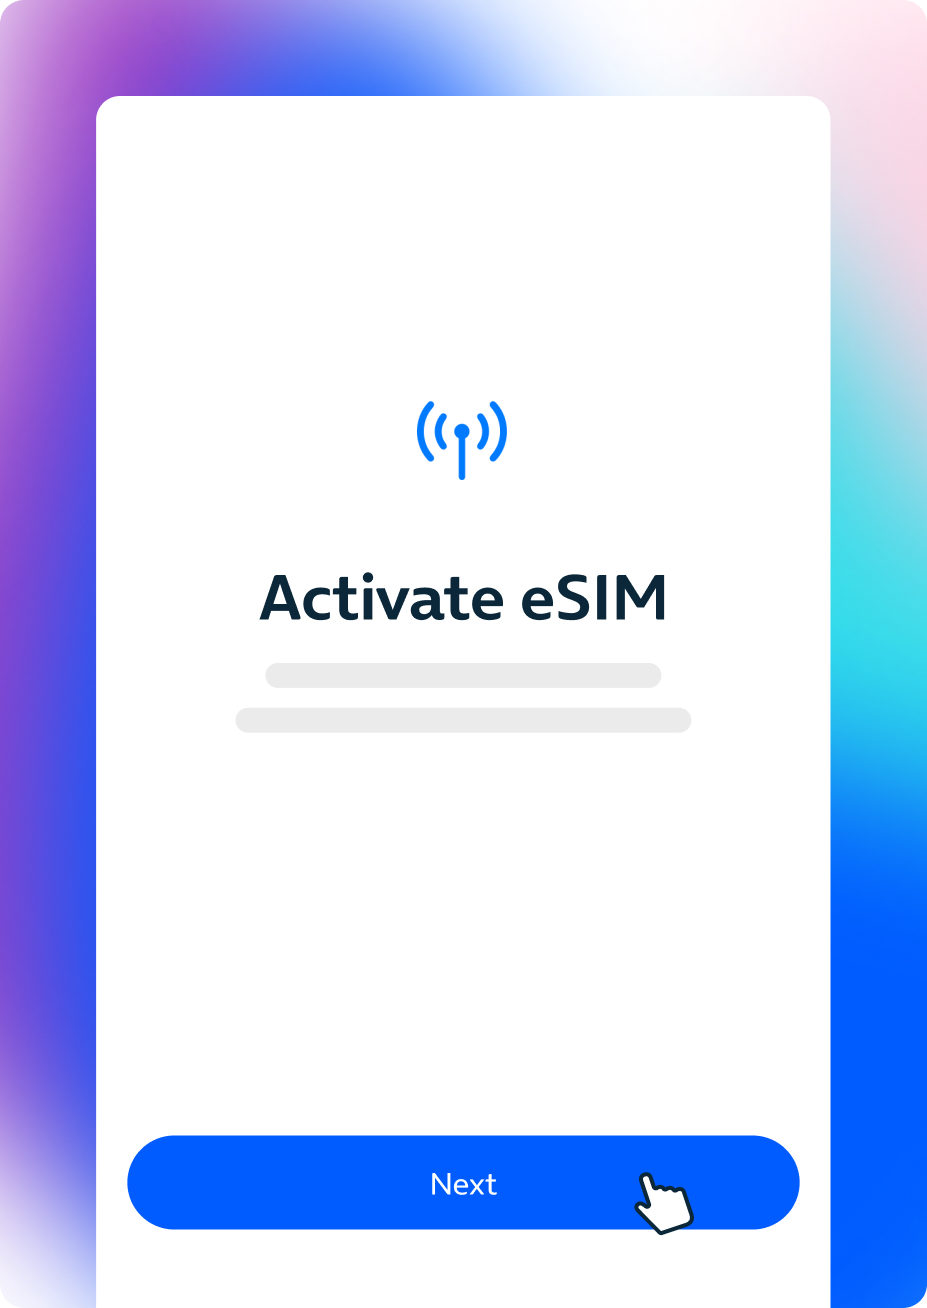
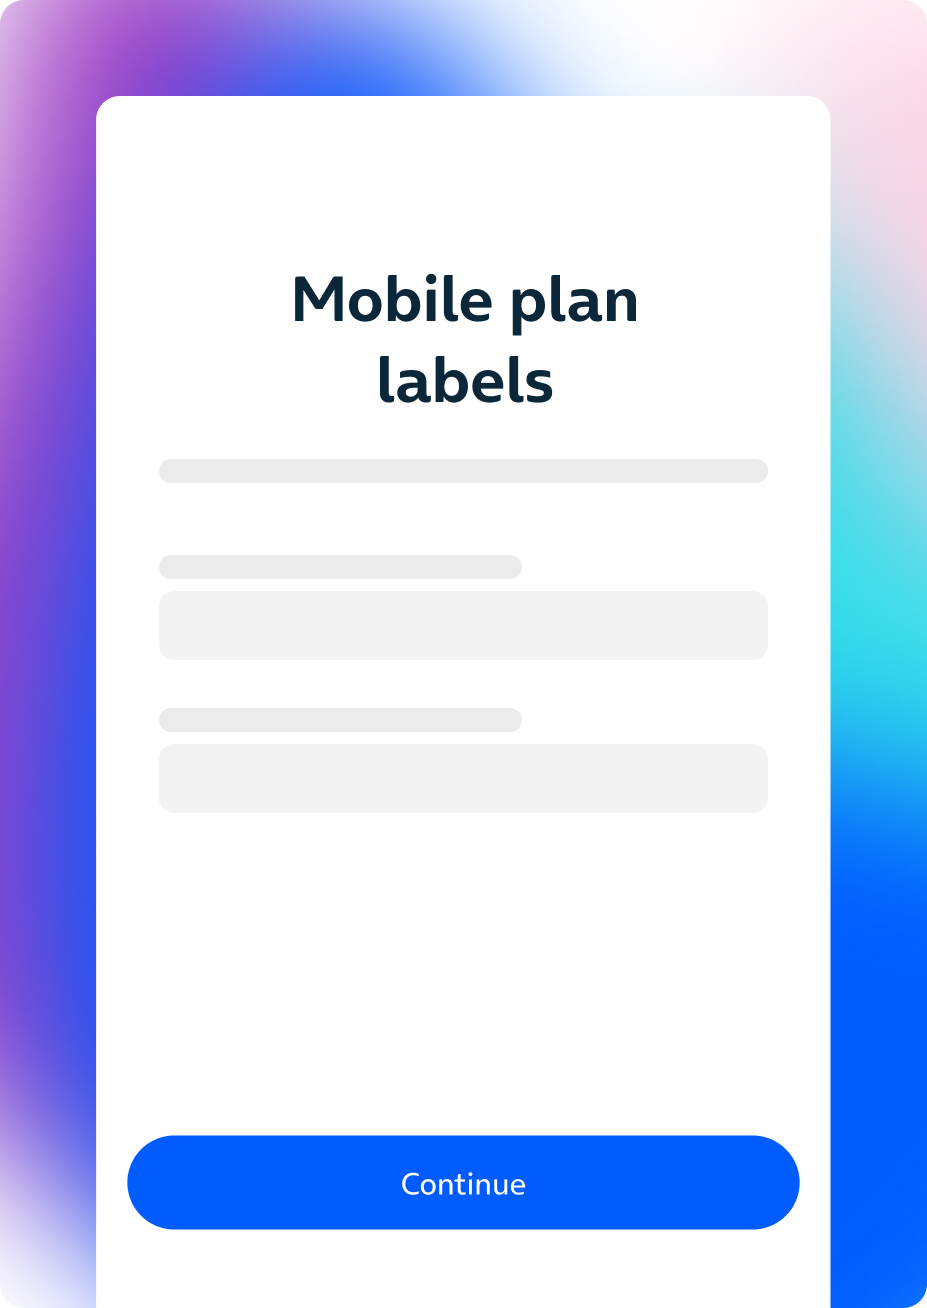
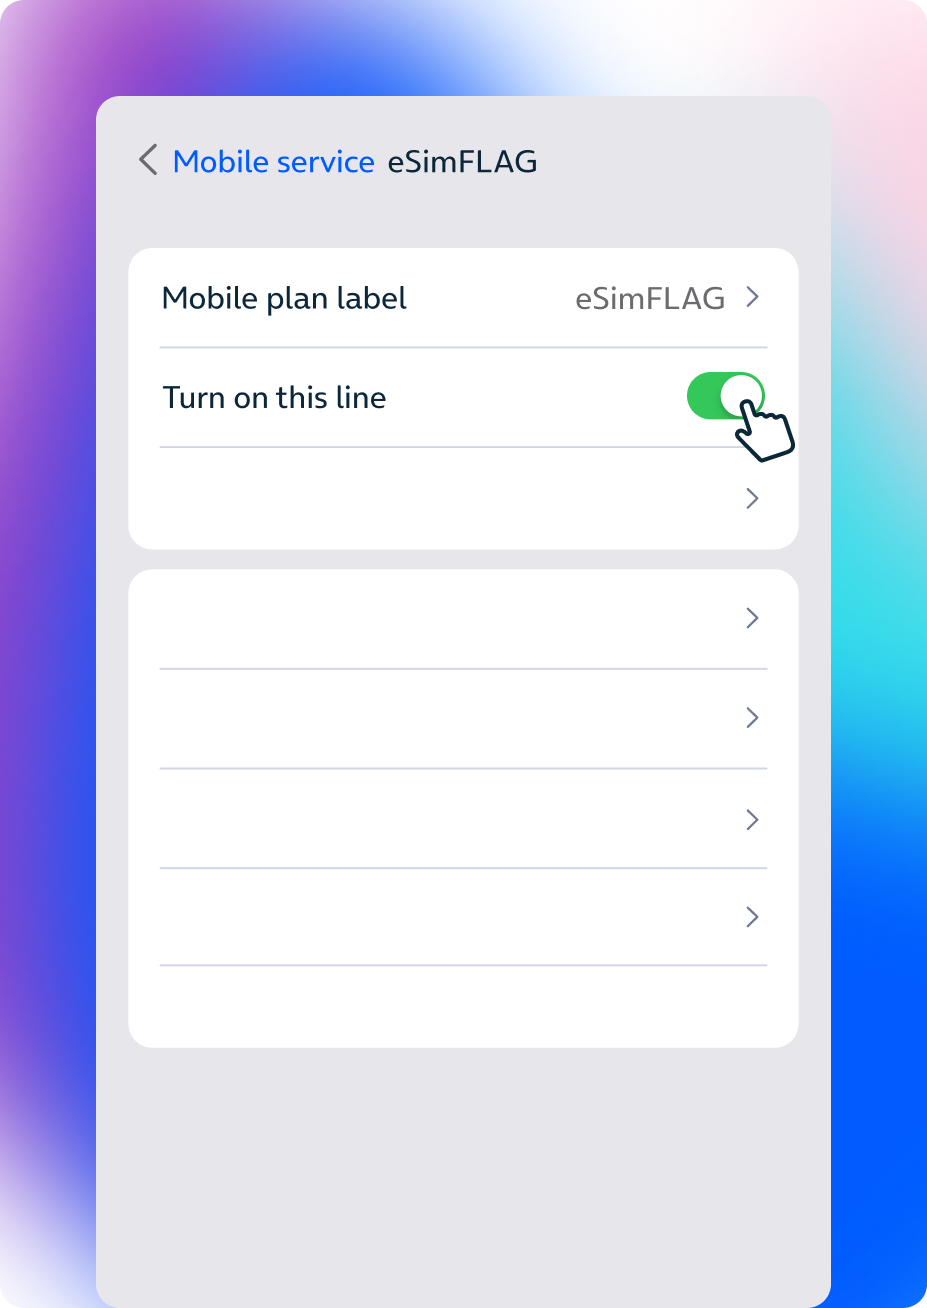
Configure your eSIM
Assign a label to the eSIM to identify it and set a priority between your different lines
Final adjustments in flight or at your destination
Once you are on your way or at your destination, deactivate data roaming on your usual line and activate it on your eSimFLAG. You won't need an internet connection to do this.

Go to Settings and select eSimFLAG
Select eSimFLAG as the data line

Activate data roaming
On your device, go to Settings and enable data roaming

Disable data roaming on your regular line
Make sure data roaming is turned off on your normal line
After completing these 2 steps, your eSIM will automatically activate when you arrive at your destination, connecting to the corresponding local network.
If your phone doesn't connect after a few minutes, check the connection solutions here